
Wind Wizard

MecaWind has many features and options within the software, which can be both a blessing and a curse. It gives the user greater control over the results they obtain, but for the novice user it can be overwhelming to understand what is being requested with each option. This is the single biggest challenge facing new users, where do I begin. To help with this confusion, in v2342 of MecaWind we added a new “Wizard” option. This option is intended to help the user get the basic parameters of their analysis setup quickly, and then they can spend more time entering only the parameters needed for their analysis. Let’s go over the basics of how this works.
Where does the Wizard begin?
The first step is now to click the big button that says “Wizard”. This is all it takes to get started with the wizard.
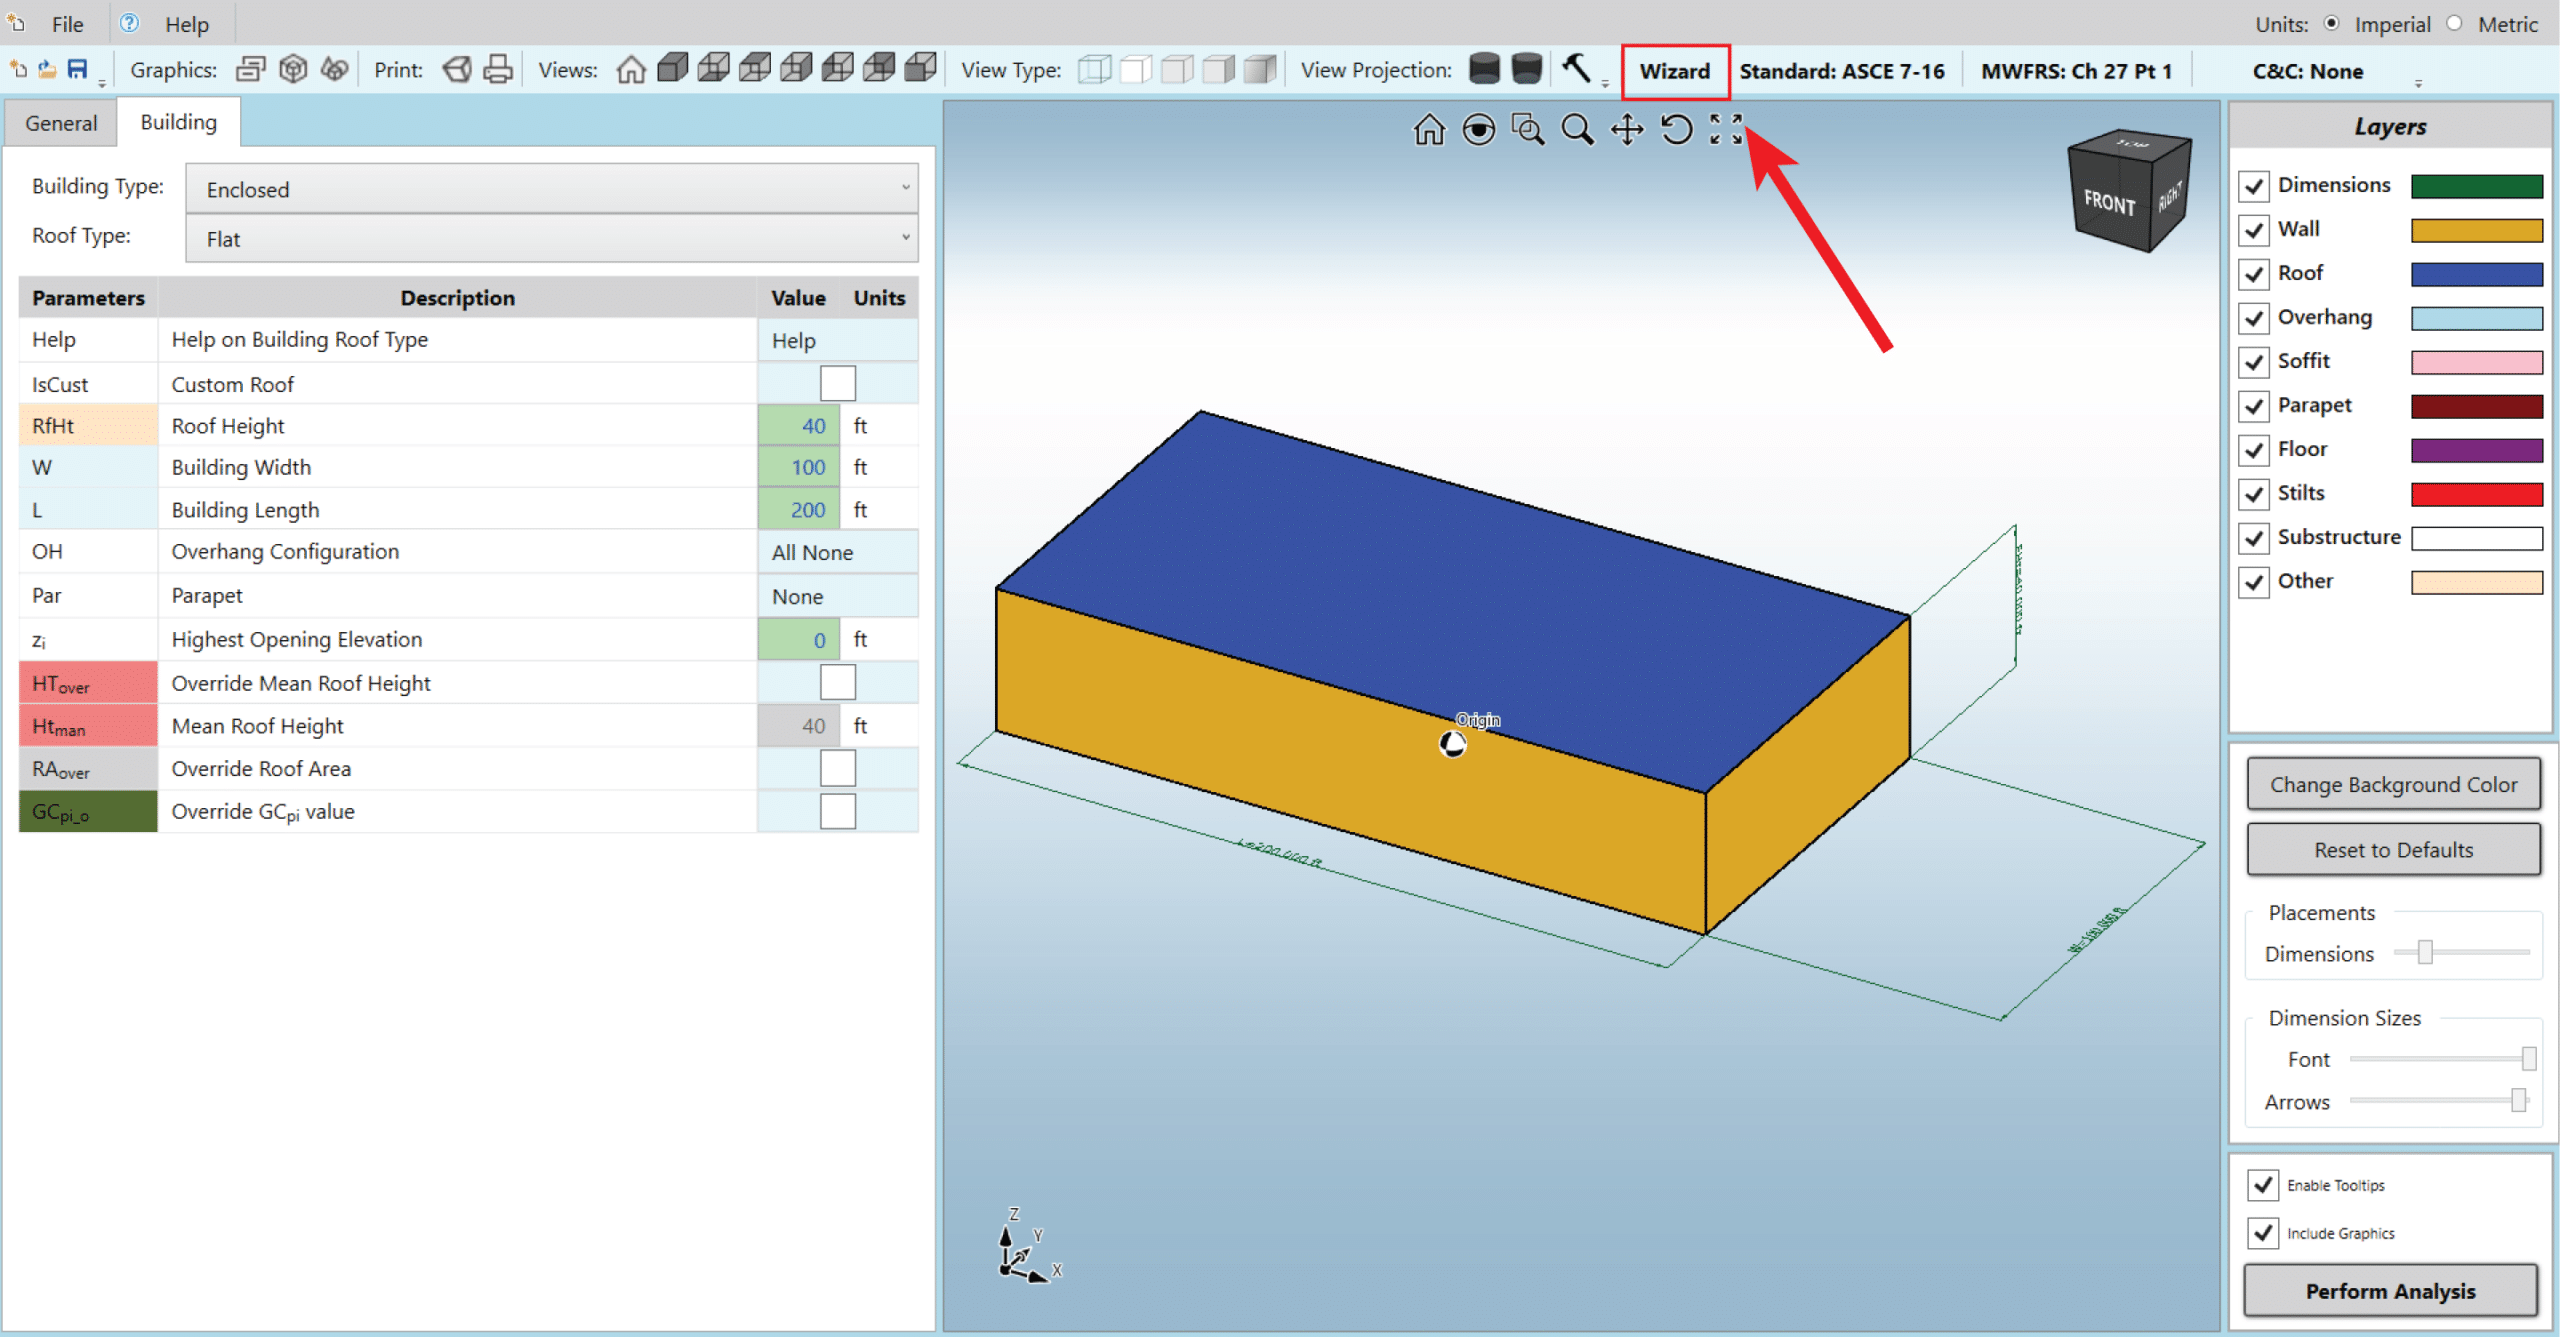
The wizard will prompt you with questions, which will be explained further below. As you make selections in the wizard, in the background the program is being updated with the choices that you make. So if you abort the wizard at any time, all of the selections you have made up to that point will be reflected in the MecaWind inputs. The wizard is just taking you by the hand, leading you through the process of setting up the software, and updating the inputs accordingly as you go. At the top are “Tabs” that show where you are in each step of the process. You can click “Next” at the bottom or you can click the tabs at the top. If you click on the tabs, please note that as you move from Left to Right your selection can cause changes on which tabs are displayed to the right.
Select Standard:
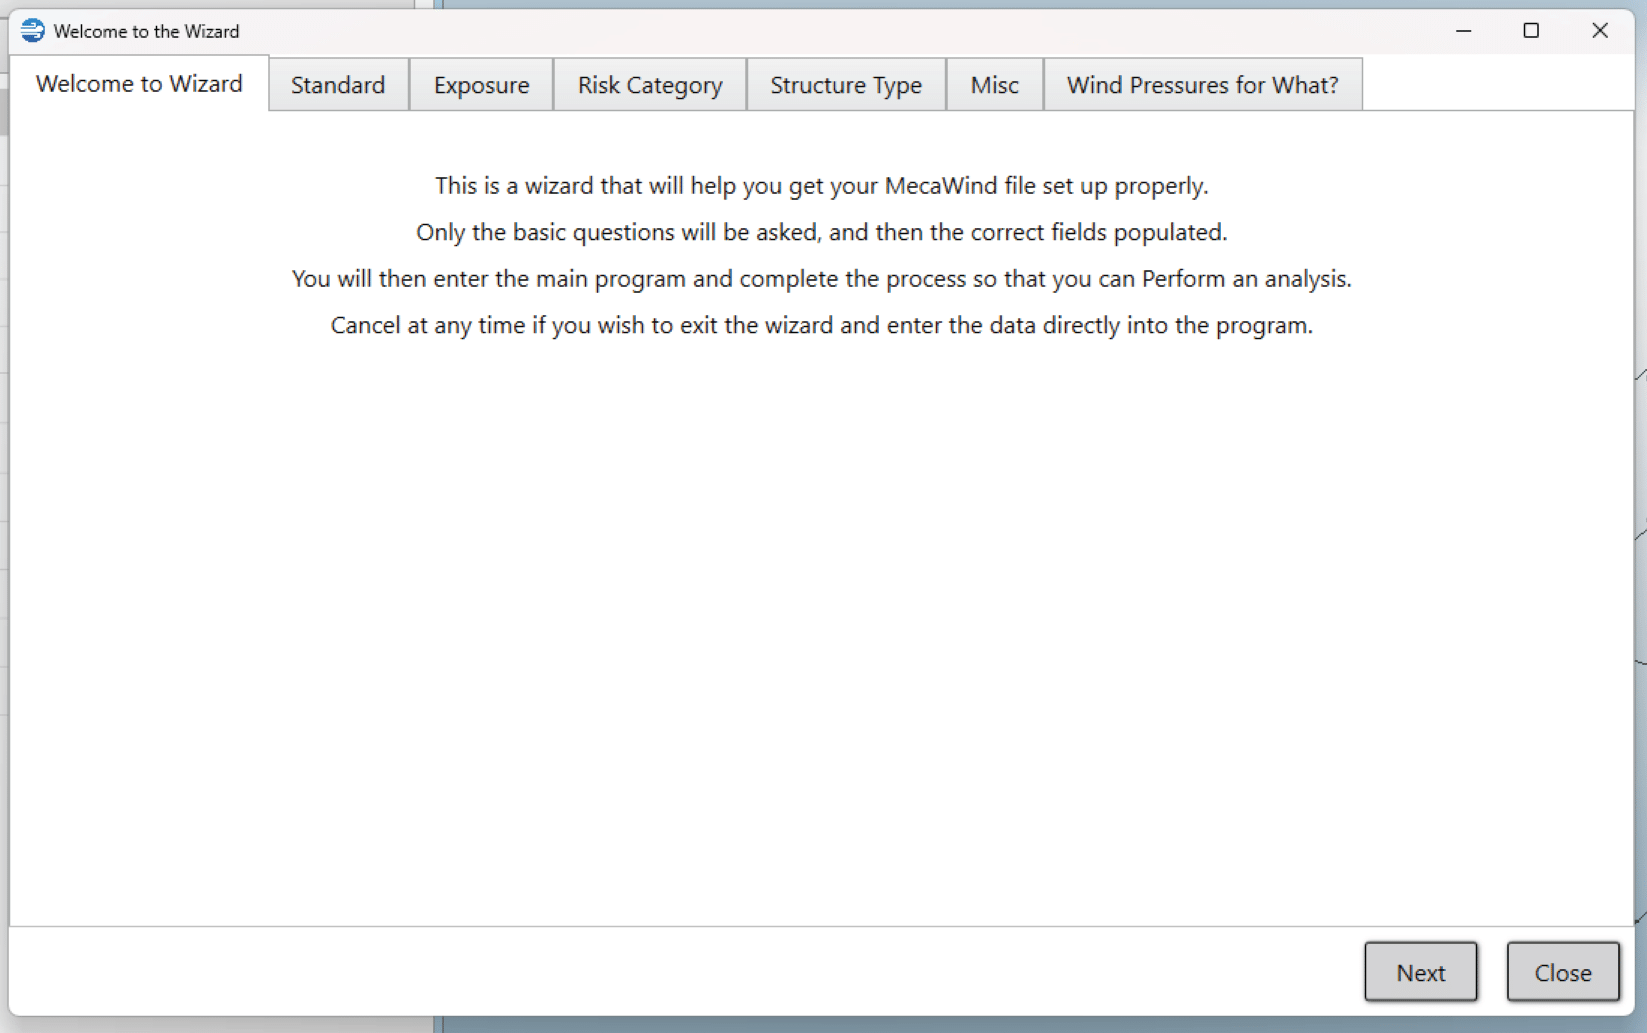
The first screen of the wizard will ask you which standard you wish to use. Please note that we have made the most common choices Green. This doesn’t mean they will always be correct, but at the time this article is written ASCE 7-10 is the most common code used throughout the US, and so it is Green. Also, beneath each option there is additional information to help you select the correct option.

Exposure & Category:
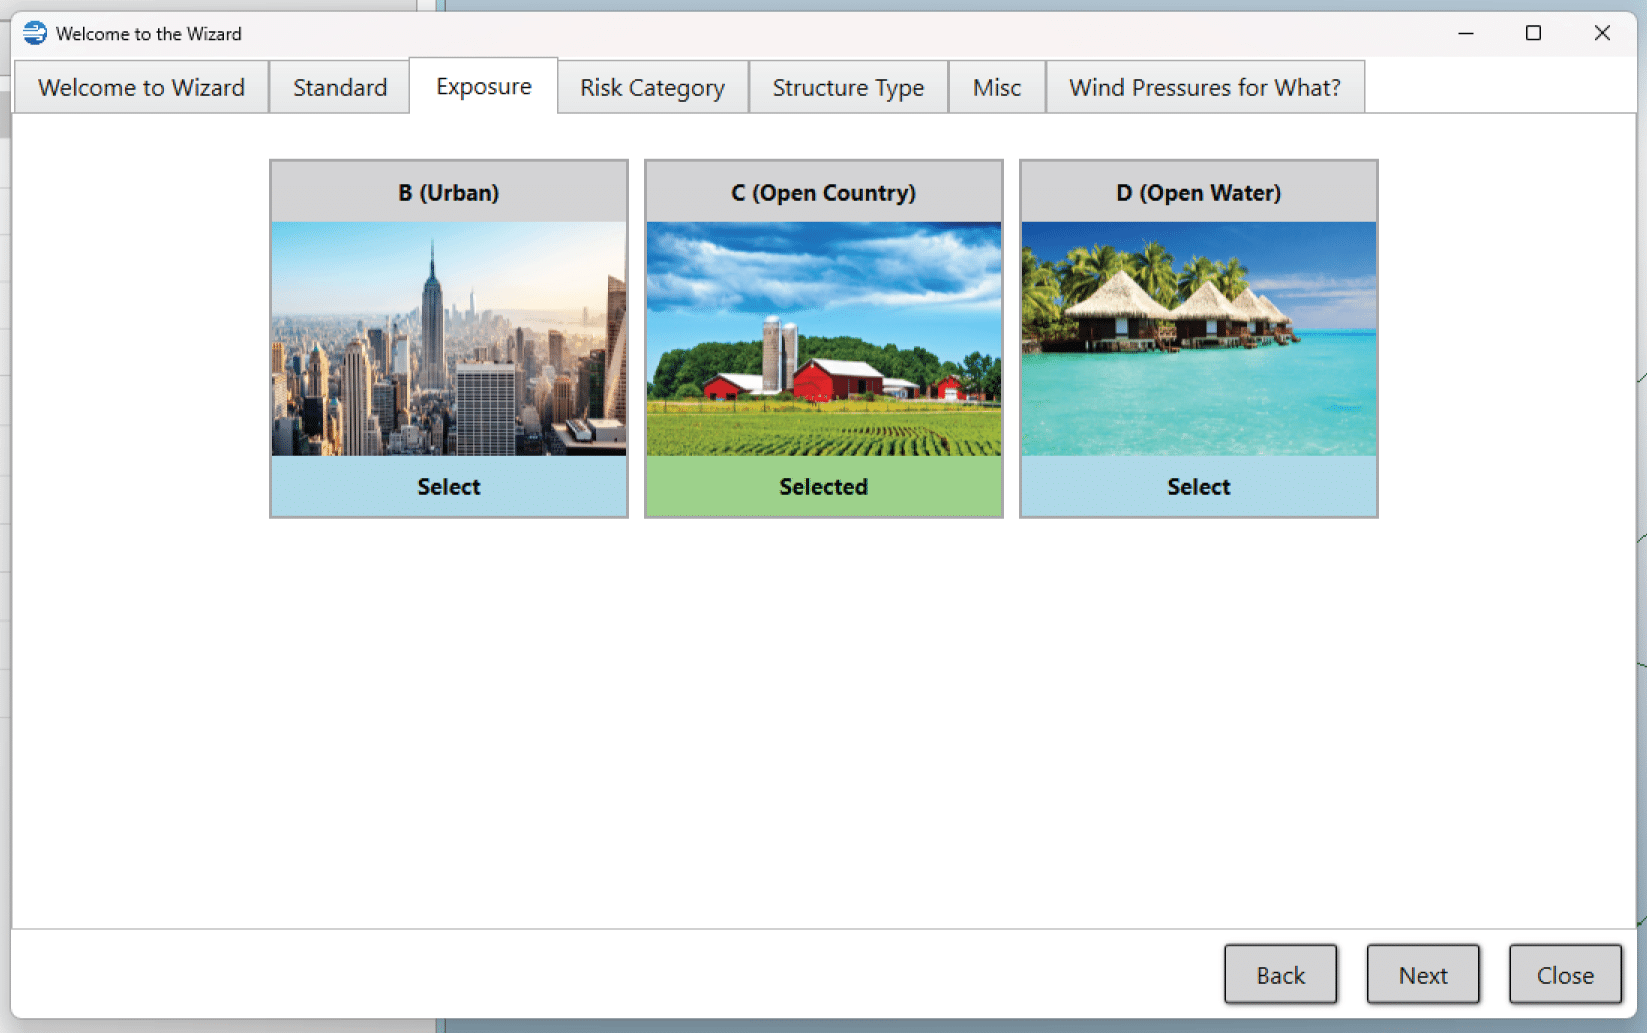
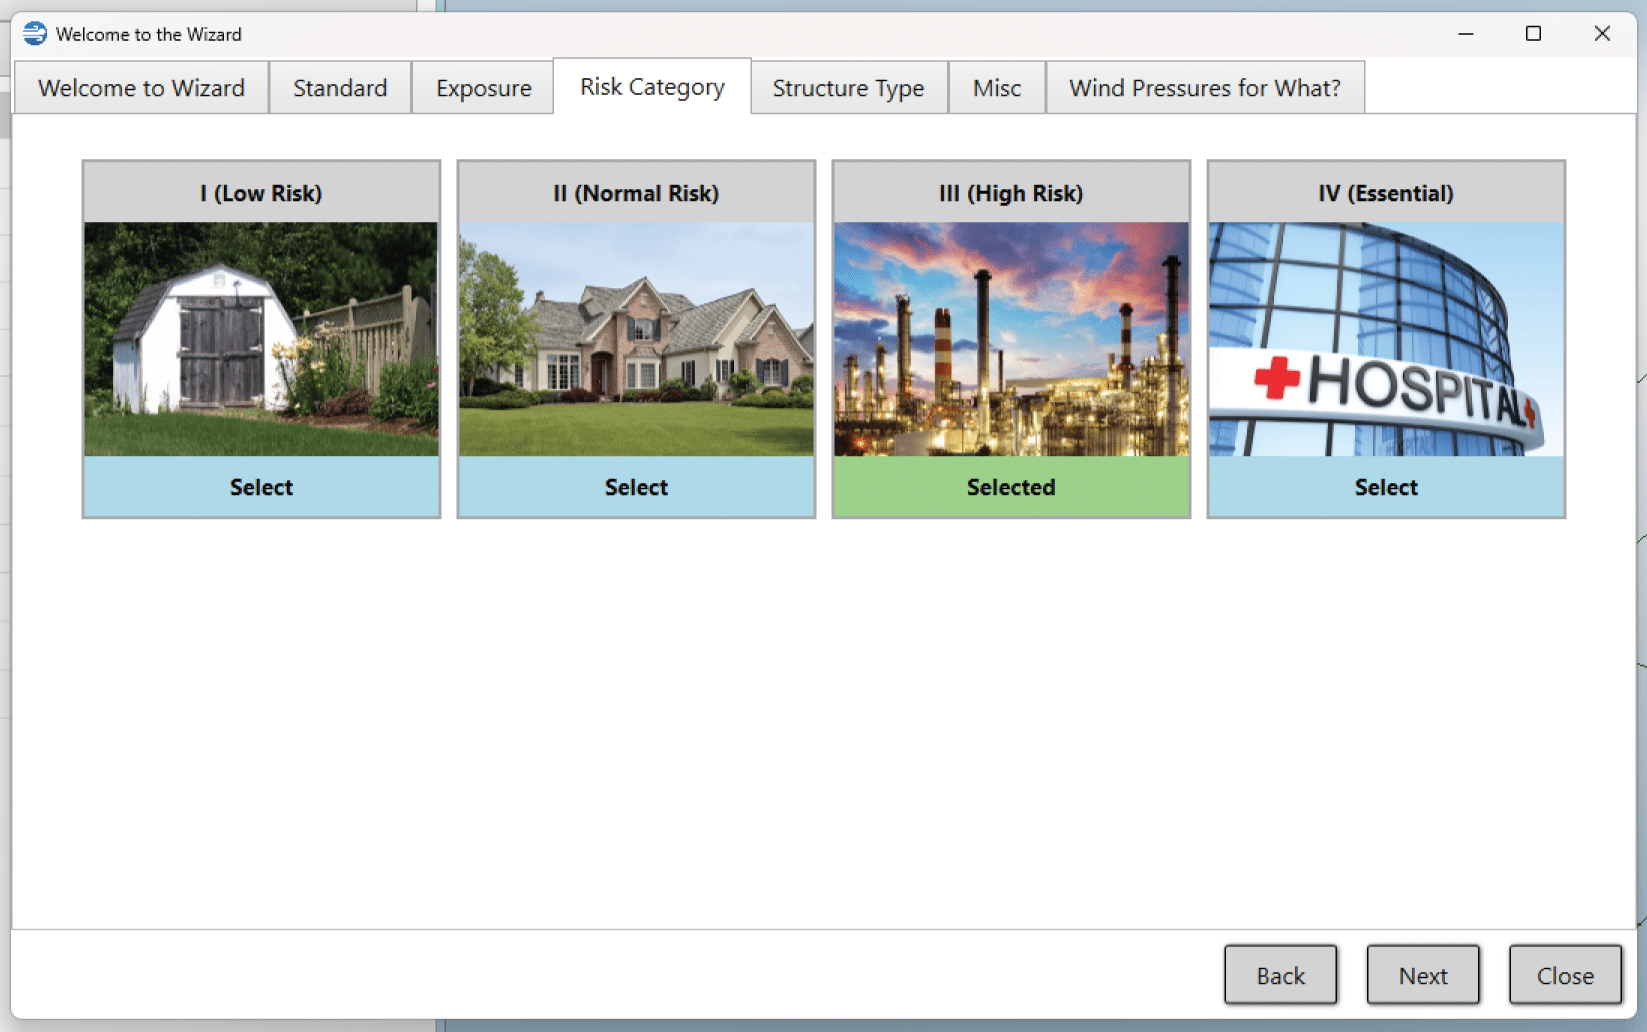
On the next screen you can see that we make heavy use of visual images, which are easier to grasp. You select the Exposure and Category for the structure, and there are images that represent each option as well as a brief description of each. Also, the wind speed is entered on this screen and there is some help to give you more info.
Type of Structure:
On this screen of the wizard you reach a fork in the road, meaning that depending upon which option you select the subsequent screens will change. We have either a “Building” or “Other [Structure] (Not a Building)” options. Also on this screen you indicate if you want a 0.6 factor applied to your wind pressures and it gives you some explanation as to why you would or wouldn’t want to do that.
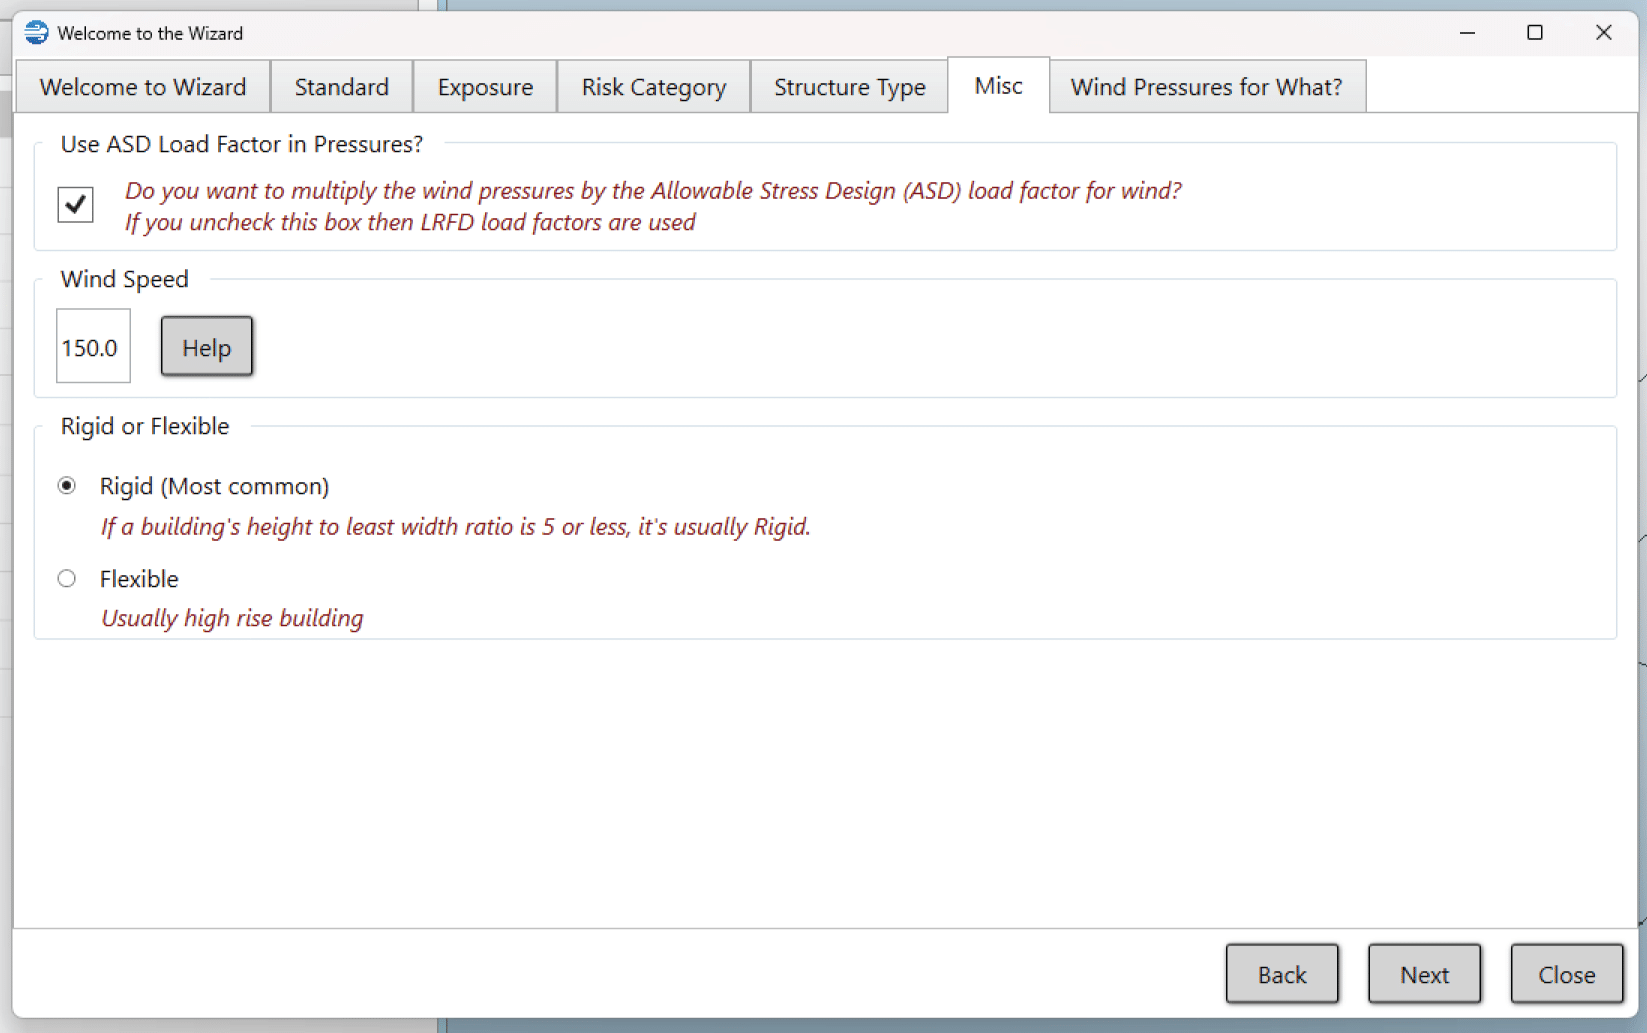
Type of Building:
First, I will show the screens assuming that you select a “Building” and then I will show the screen if you select “Other [Structure]”. For the type of building, you have some options which are an indication of the porosity of the building envelope (Open, Enclosed, etc..). Please note that the Partially Open option is only applicable when ASCE 7-16 was introduced, so it won’t be available if you select ASCE 7-10 or ASCE 7-05. One of the most frequent questions we get is how do I know if my building is flexible or rigid and we give some simple guidance on that option.
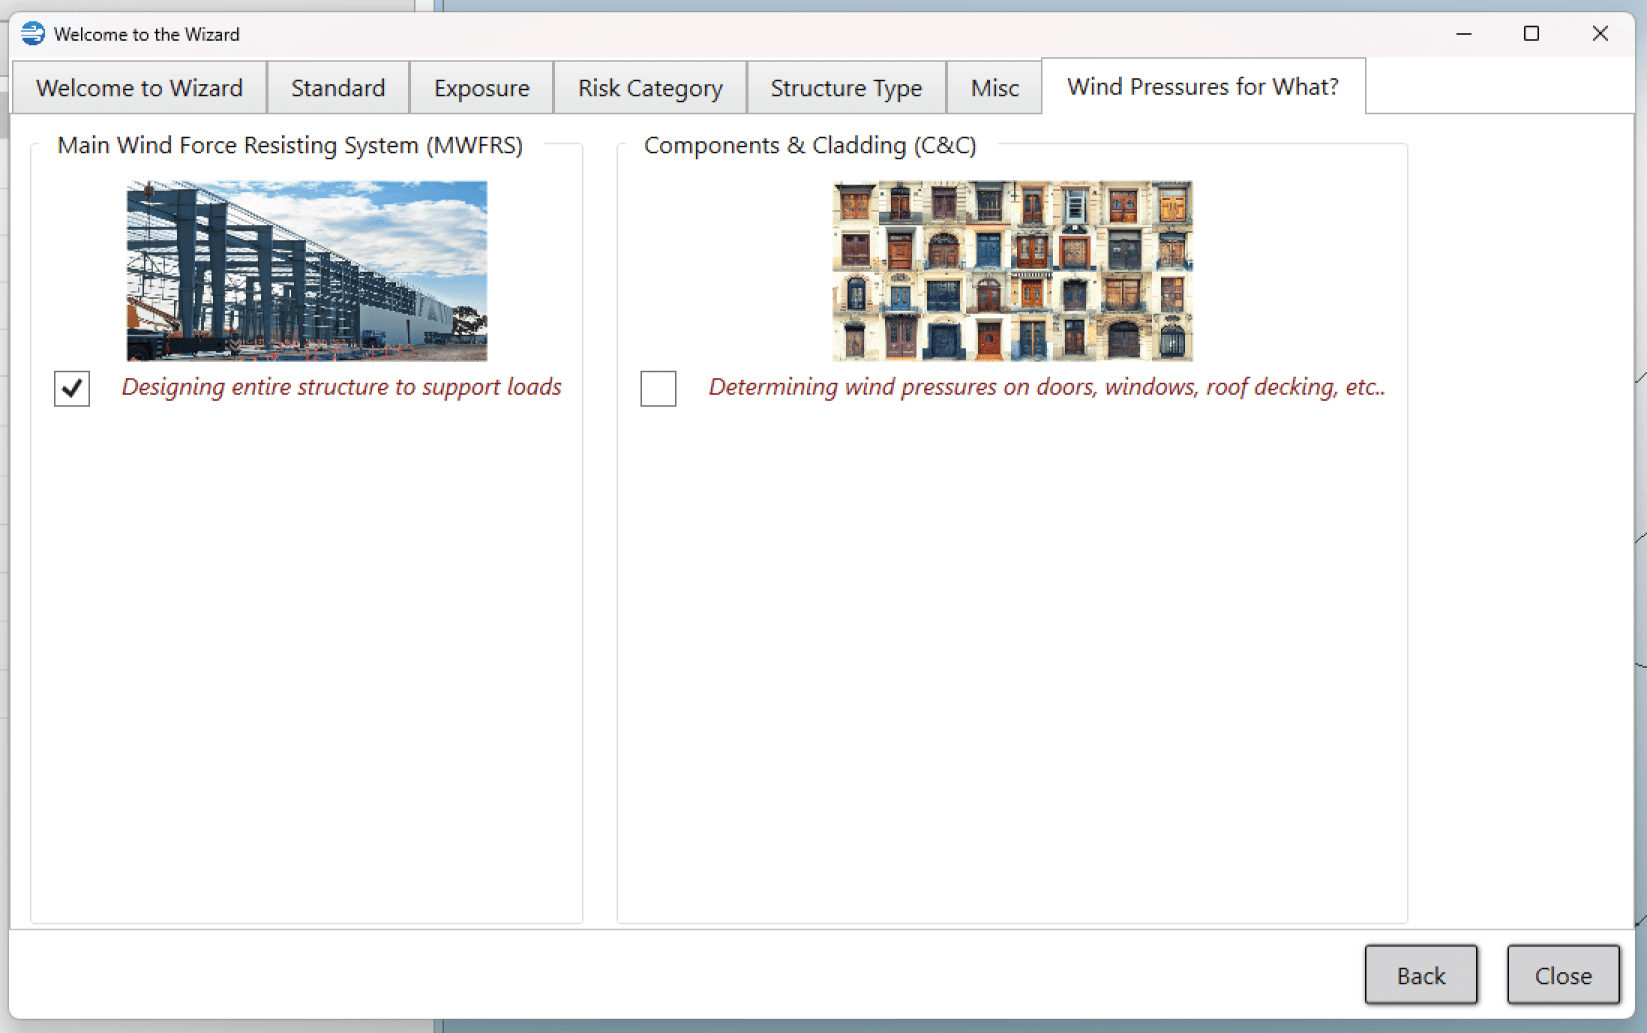
What type of Analysis:
On this tab you will select whether you are interested in analyzing the Main Wind Force System (MWFRS), Components and Cladding (C&C), or both. You must select at least one of these options, otherwise you won’t have any analysis results.
Other Structures:
As promised, let’s go back to the Type of Structure screen where we selected the Building Option and lets look at what the screen would look like if “Other” was selected. Please note that there are some options on this screen that are only applicable for ASCE 7-16 because these options weren’t added until this version of the standard (Tanks, Silos, Canopy and Solar Panels).

Wizard Conclusion:
At the end, you click the “Finish” and return to the main MecaWind program. The selections you made in the wizard are all transferred into the main MecaWind program. Here you will still need to go through each tab and enter the necessary data. The main menu should be nearly complete. You just need to scan and check to see if there are any other details that are needed. The building or other structure screens are where you will enter the details about the structure. Finally, you will need to specify any Components and Cladding (C&C) since none of that info was entered in the wizard.